

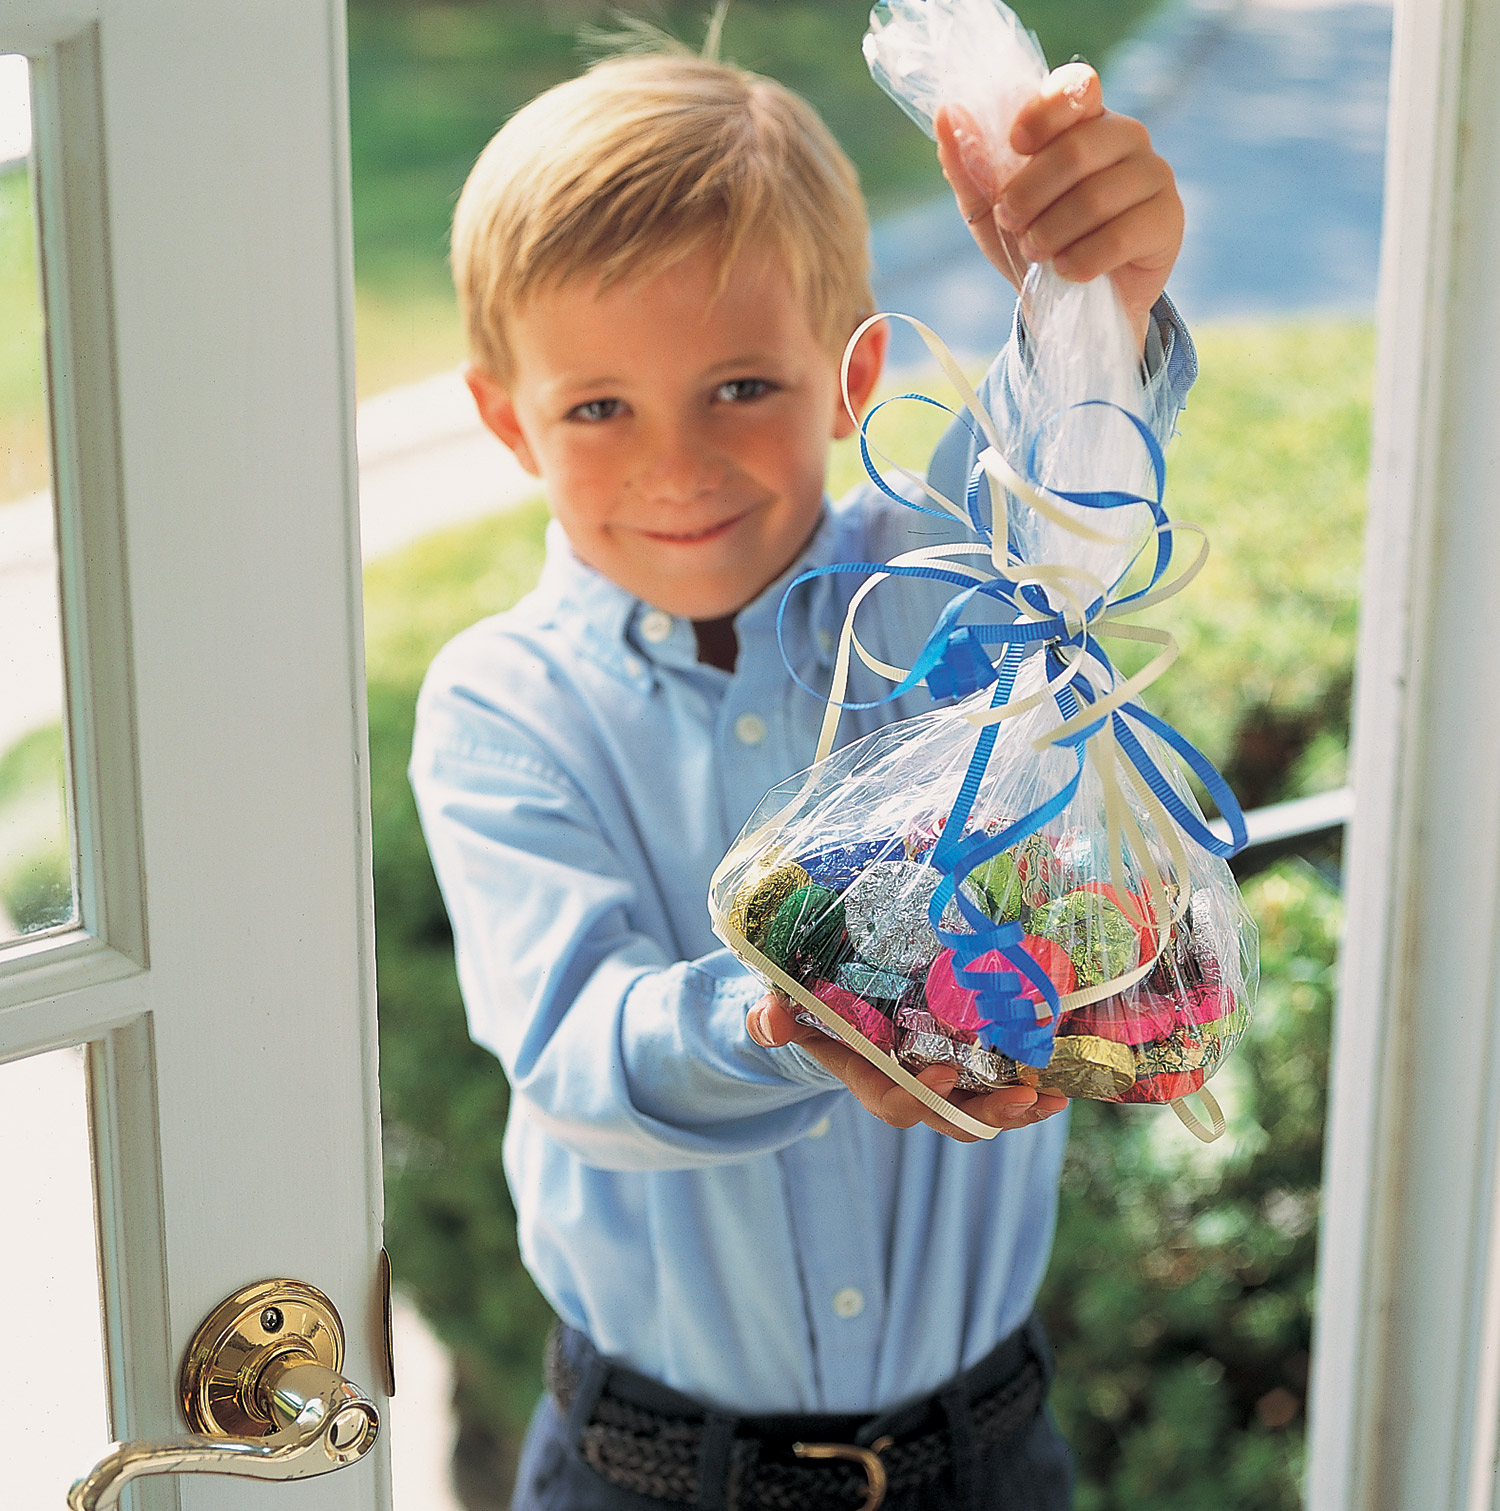
I’ve been making these chocolate candies with my kids since they were little. Each year, they would give them to their friends and teachers as holiday gifts. These also make wonderful party favors for adults and kids. Regardless of the occasion, it’s nice to wrap them in colorful foil papers, available in professional candy making/baking supply shops.
Any time I’ve suggested a tool, a piece of equipment, or a culinary term that’s unfamiliar to you, you can go to Learn to Cook for more information.
Line the bottom of a 15 x 10-inch baking sheet with wax paper, leaving a 2-inch overhang at each end. Line a second tray with wax paper and place both trays next to your work surface.
Melt the semisweet chocolate with the shortening either in the top of a double boiler over barely simmering water, or in a bowl that sits in a pan of very hot (but not simmering) water, over low heat. Stir the chocolate constantly, as it melts, being very careful not allow any water to enter the bowl which will cause it to quickly stiffen, a process called “seizing.” Also, don’t let the chocolate overheat. (If using an instant thermometer, remove the bowl of chocolate when it reaches between 115F and 118F.) When just about smooth (one or two small pieces of chocolate may remain visible), immediately remove the chocolate from the stove and briskly stir in the remaining chopped milk chocolate. Stir constantly and briskly, until perfectly smooth. After stirring until smooth, check the temperature. The chocolate should be cooled to between 88F and 90F, in order to be in proper “temper” after setting.
Stir the cereal into the melted chocolate as soon as it’s tempered. When well combined, use a large rubber spatula to transfer it to the prepared baking sheet. Use a long metal icing spatula to spread the chocolate mixture evenly within the pan, then lift the pan and rap it, once or twice, on the counter, removing any air bubbles. Place the sheet into the freezer, uncovered, for no longer than 5 minutes. Remove the sheet and, using sturdy cookie cutters (rounds, squares, hearts, etc.), in one or a variety of sizes, cut the chocolate into shapes. (If the chocolate is very firm, place a quilted pot holder or a folded kitchen towel on the top of the cutter, to protect your hand when pressing down.) Gently push the cut chocolates out of the cutter and onto the second paper- lined tray.
If desired, wrap the chocolate crisps individually in colored foil wrappers or just lay them unwrapped, in a tin, separated by sheets of wax paper. Since these candies are tempered, they can be stored at a comfortable room temperature.
When tempered properly, these candies can be stored at room temperature for several weeks.