Any time I’ve suggested a tool, a piece of equipment, or a culinary term that’s unfamiliar to you, you can go to Learn to Cook for more information.
Use some of the melted butter to grease the interior of an 8-quart mixing bowl. Set that bowl aside.
Scald the milk with the shortening and add 6 tablespoons of the melted butter. Pour the hot milk mixture into another large mixing bowl and add the salt and 1/2 cup sugar or honey. Let the mixture cool to lukewarm. In a small bowl, dissolve the yeast in 1/2 cup warm water with a pinch of sugar and allow it to become bubbly, about 3 minutes. Meanwhile, stir the whole eggs and yolks, into the milk mixture, then add the dissolved yeast. Stir in 5 cups bread flour, 1 1/2 cups at a time, then add enough all purpose flour, cup by cup, to create a somewhat stiff, shaggy mass, that’s no longer easily stirred.
Use a sturdy rubber spatula to scrape the mass out onto a floured surface and knead it, until you’ve created a dough that’s smooth and elastic, adding only as much additional flour as is needed to keep the dough from sticking. Place the dough into the greased bowl and brush the top with more melted butter. Cover the bowl with greased plastic wrap and a clean kitchen towel. Let the dough rise, in a warm draft-free spot, for 2 hours. Uncover the dough and deflate it, with several swift swats with the back of your hand. Turn the dough over in the bowl and knead it, gently, to redistribute the yeast. Recover the bowl and let the dough rise again, for 1 hour and 15 minutes or until very light and billowy.
First brush three 9 x 5-inch loaf pans with melted butter and set them aside. Turn the risen dough out on to a lightly floured surface and knead it gently and briefly. Use your pastry scraper to divide the dough into three equal portions and cover them while working with one at a time. Roll one piece into an 8 x 10-inch rectangle, with one short end close to you. Starting at the top short end, that’s furthest from you, roll the dough down snugly towards you. After each revolution, use the thumb on your working hand to press down and connect the interior wall of the roll to the bottom of the dough. When you reach the bottom, pinch the last inch of dough onto the roll, so it adheres. Working with one end at a time, press each coiled spiral of dough, in toward the center of the log. Pinch the top and bottom outer rims of dough together, elongating this part slightly, and attach it to the bottom seam, rounding off and sealing each end.
Lay the loaf, seam side down in a prepared loaf pan and use your hands to gently plump and correct the shape. Cover the loaf with a clean kitchen towel and repeat this same procedure with the remaining dough. Let the loaves rise for 45 minutes, in a draft-free spot.
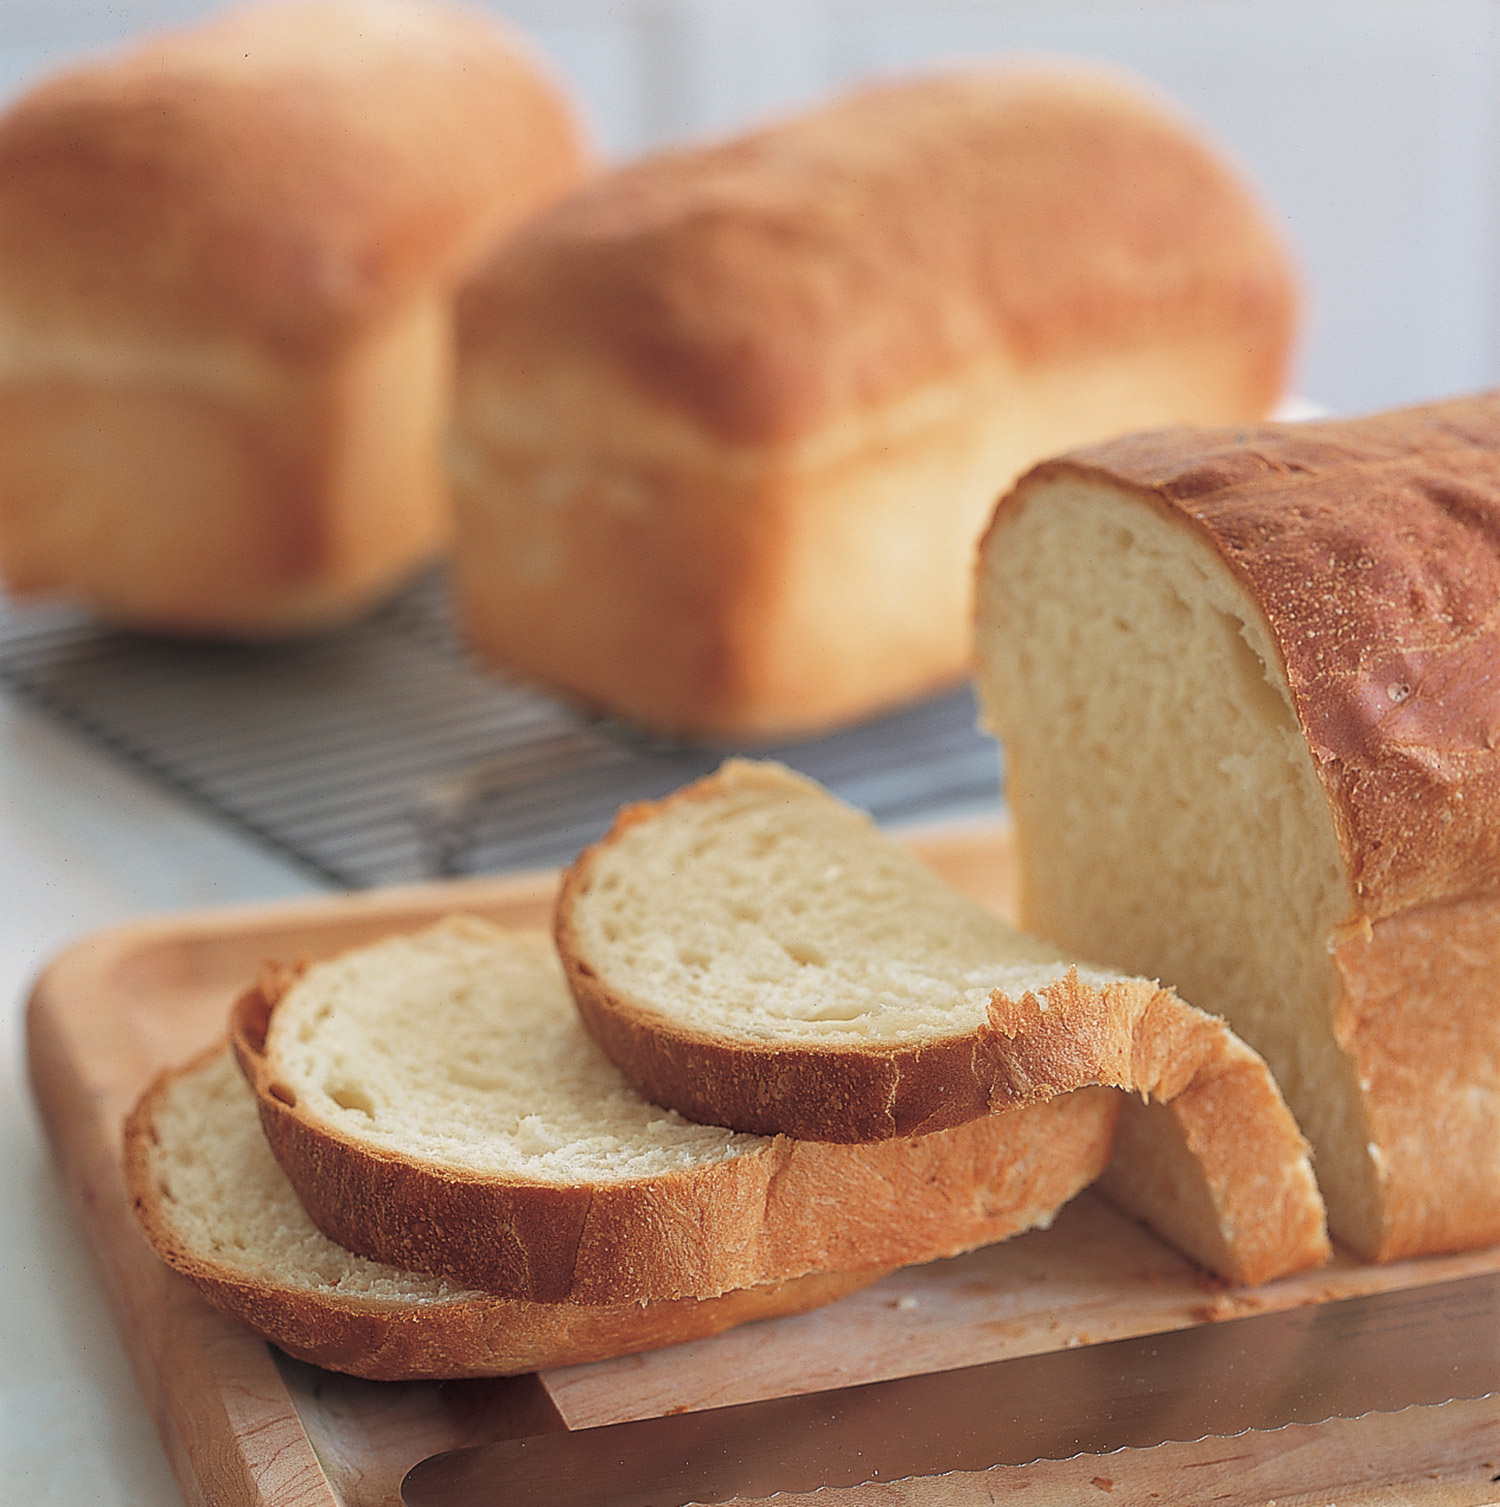
Twenty minutes before the end of the rise, preheat the oven to 400ºF, if using metal pans and 375ºF, if using glass. Just before placing the loaves into the hot oven, brush the tops with melted butter. Bake the loaves in the middle of the oven, with 1 1/2-inches in between them, for 30 to 35 minutes, covering loosely with aluminum foil (dull side up) for the last 10 minutes, if becoming overly brown. Remove the loaves from the oven and turn them out of their pans, onto wire racks. Give the bottom of each loaf a good tap on its bottom, which should sound hollow. If not, put them back into the oven (on a shallow baking sheet), for a few more minutes. When done, remove the loaves from the oven and, for the softest crusts, brush the tops with more melted butter. Let the loaves cool completely, on wire racks, before slicing.
A word about oven space: If all three loaves won’t fit in your oven, bake two risen loaves at once, while the third rises in the refrigerator, covered. When the first two loaves enter the oven, remove the third from the refrigerator, letting it rise, until the desired volume is achieved. Bake as directed.
The dough can be made two days ahead of baking. After the first punch down, cover the bowl securely with the original greased plastic wrap and then with aluminum foil. Before shaping, let the dough sit out of refrigeration until it becomes room temperature (which can take 4 hours). Shape, rise and bake, as directed.
To freeze these loaves, don’t apply the last application of melted butter, after baking, which tends to create a shriveled look, in frozen breads. When fully cool, wrap the loaf in a double layer of aluminum foil, then slip the loaf inside a large heavy-duty freezer bag and freeze it for up to 1 month.