

The only way to become an accomplished bread baker is to understand the roles of the major players (yeast, liquid, sugar, salt and orlour) and how they ultimately affect the finished bread through the process of kneading, rising and baking.
Yeast bread is initially leavened by a tiny single-cell organism that multiplies when given its favorite food (sugar or starch) within a warm and moist environment. As these yeast cells consume sugar or starch, their enzymes convert into glucose (simple sugar), which ferments over time converting the yeast into alcohol and carbon dioxide (the substance that forces the dough to rise). This process of yeast cell reproduction is called “budding” and is a form of asexual reproduction. (The cell forms a duplicate growth of itself, on itself over and over again.)
Yeast breads all begin in a totally liquid state. Liquid is the vital component that enables yeast to flourish and flour to release its inherent protein which enables the dough to trap the yeast and rise evenly.
Salt also plays an important role in the development of the dough. Just as sugar and warm liquid encourage the yeast to “rise and shine,” salt tells the yeast to “slow down and smell the roses.” If you omit the salt, the yeast cells will multiply so quickly that they won’t have time to ferment throughout the dough. Fermenting deepens both the overall flavor and texture in your baked bread. In addition, the quicker the dough rises, the more likely it is to over-rise and exhaust itself, limiting its ultimate leavening capability. Under-salted dough also tends to lack depth of color when baked. Although you might be tempted, for superior bread, don’t alter the amount of salt in any bread recipe.
Finally, flour which initially helped feed the yeast, adds gluten (structure) to the dough. Through the process of kneading, the gluten makes the dough elastic and creates a glutinous network of passageways that permit the dough to rise and ferment evenly throughout. Once the fermented risen dough hits the hot oven, the initial burst of warmth will encourage the yeast to make one final rise before the organisms are completely killed off. The remaining rise is accomplished by the upward movement of trapped air (steam) within the moist, glutinous network. This produces a light, billowy texture in the baked bread.
Types of yeast: Several types of baking yeast are available. My recipes are written for active dry yeast, sold in 1/4-ounce packets (about 2 1/2 teaspoons) of dry granules, the type preferred by most home cooks. Another type comes in a square block known as “cake” or “compressed” yeast, which is much more perishable than active dry yeast. You may, however, substitute 1 small block (.06 ounces) of cake yeast for 1 packet of dry yeast.
Cream the yeast into warm water with a bit of sugar and, when visibly active, add it to the remaining ingredients. Store your yeast (whether dry or cake) in the refrigerator. Although quick-rising yeast is also readily available, I never use it. Most serious bakers will agree that both the flavor and texture-developing power of this product are inferior to the old fashioned, slow-moving yeasts.
Proofing—How to tell if your yeast is alive: “Proofing” is the process of making sure that your yeast has not died from poor storage or old age. To prove the yeast worthy of your muscle, you must first reconstitute the granules in a small amount of lukewarm (not hot) water. To give further incentive to the yeast to “wake up and smell the coffee,” you add a pinch of its favorite food—sugar. After only a few minutes, the yeast granules will begin to swell and take on a light beige color and creamy texture. If left alone, the yeast would produce many bubbles that would rise to the top of the cup. After the first creamy reaction, proceed to create your dough so the powerful yeast action is saved for your assembled dough and not wasted in the cup. Although yeast can be killed in liquid that’s too hot, I have never used a thermometer to measure the temperature of the proofing water. This is both unnecessary and intimidating to someone who is embarking on the art of bread making for the first time. The water used to proof yeast should feel like tepid bath water. If it stings when you put your wrist under the faucet, it’s too hot. If it feels like you want to jump in and soak, it’s just right. This goes for the any remaining liquid used in the dough as well. (For those who feel they must use a thermometer, the temperature of any liquid used with yeast should be between 105°F and 115°F.)
About flours and what they do: Unbleached all-purpose white flour (a blend of hard and soft wheat) is my choice for the majority of everyday cooking procedures. “Unbleached” means that the flour has been allowed to mature naturally and develop both flavor and strength. Millers chemically bleach flour so they can quickly whiten, strengthen and sell it. Unfortunately, this process also removes much of the vitamins and reduces the overall protein (gluten) level, which builds texture in bread. Conversely, naturally matured flour increases the protein content and produces a dough with better rising potential for an ultimately lighter loaf of bread. Be sure to use the unbleached variety in all recipes that call for all-purpose flour, unless otherwise specified.
When making certain types of bread, the specific amount of protein in the flour (which is listed on the package) is crucial for the correct textural results. In bread terms, protein or gluten refers to the elastic properties that are present, in varying degrees, in most types of flour. These properties are released, with or without yeast, when the flour is vigorously stirred with liquid. The components of gluten gives plasticity to the dough (enabling it to spring back in to shape when kneaded) and elasticity (the capacity to be stretched and pulled to varying degrees without breaking).
When making soft breads, which will rise and bake within a loaf pan and where a chewy texture is not desirable, the softer, less glutinous all-purpose flour is preferable. When using coarser, flavorful flour (like whole wheat, rye flour and coarse rye meal), the texture actually inhibits kneading. As you work the dough, the sharper edges of the coarse grains actually cut the very glutinous strands that you are attempting to create. So you need to “beef up” the dough by adding a stronger (harder) and smoother white flour. This is also true of a dough with a high fat content containing butter, milk, and eggs. These ingredients make the dough more tender, but they also make it harder for the yeast to travel. Bread flour (high-protein flour) is necessary to compensate for these factors and it’s readily available in many supermarkets. For a dough made almost exclusively from a coarser grain, you can add 1 tablespoon of 100% pure gluten flour for every cup of whole wheat flour in your recipe; however, pure gluten flour is only available through specialty bakers’ catalogues.
To know the protein content of flour, check the side of the bag. All-purpose flour usually has between 11% and 15% protein (perfect for biscuits, quick breads and muffins). For soft yeast breads (sandwich loaves), choose an all-purpose flour with a minimum of 15% protein. For chewy breads, free form, decoratively shaped, egg-enriched dough, use a minimum of 20% protein for the best rise, authentic texture and shape retention.
How much flour to add: Although many bread recipes give a precise amount of flour, I rarely do (when teaching) for several reasons. Not only does the moisture content of flour vary with each bag and with each brand, but local weather conditions on that bread-baking day also can determine the amount of flour needed. My strongest reason for only specifying a general amount of flour is that in order to become truly proficient in making bread, you need to feel your way through the process. This is how I learned to become an accomplished baker and this is how I teach others. Ultimately, the amount of flour that your dough requires is between you and your dough. Your hands are your best indicator to perceive a properly kneaded dough. Learn to trust them and alter the amounts of flour to suit the conditions.
That brings me to the next step which is how to add flour to a yeast dough. Don’t dump in large amounts of flour and quickly turn out a large heavy mass of unstructured dough onto your work surface. Instead, stir flour in by the cupful and don’t add any more until it’s absorbed. Remember that gluten is released in flour simply by coming in contact with liquid. So, if you briskly stir flour into your dough in small amounts, you will ultimately develop more elasticity earlier in the kneading process. Following is a guide to take you from a total liquid state (which is how all of my bread doughs start) to being fully kneaded and ready to rise
Important Notes on Kneading: For best traction when working the dough, use a wooden surface. Since wood is porous and will retain flavors and odors from other foods, avoid kneading dough on a board that’s used to chop aromatic vegetables. For best results, use a separate board for each purpose. Don’t attempt to make bread without the aid of a pastry scraper. This vital tool will act as your working hand during the beginning of the kneading process, when the dough is at its stickiest. Finally, remember that you are the boss! (Although, sometimes you might not be sure.) Don’t be afraid to be pushy and aggressive when kneading. The most important thing to remember is to knead quickly. The longer your hands remain on any one spot of dough, the more likely that your dough will stick to your hands—and tear the very structure that you are trying to create.
Where your dough should rise: Often the term “warm draft-free spot” sends the novice bread baker into a panic. No, you don’t have to place the bowl in a closet under a blanket. With the exception of extreme heat (where the yeast is immediately killed) or the freezer (where the yeast becomes suspended in time) your dough will surely rise any place you put it. Basically, the temperature that surrounds the bowl of dough as it rises will largely determine how long the dough will take to double and sometimes even triple its original bulk state. Since yeast cells love gentle warmth, they will multiply faster in this environment. So, if your kitchen is chilly, your dough will rise more slowly and, if the day is very warm and humid, your dough could take less time than specified in a recipe.
My recipes assume that the dough will be rising in a room that’s at a comfortable room temperature with little fluctuation. The most effective way to keep the temperature constant (in order to estimate accurately the length of time required for rising) is to avoid placing the dough near a door that’s continually being opened and shut or in an area that gets a lot of foot traffic. Be assured, however, that if your dough is placed in a greased bowl, covered with greased plastic wrap and covered again with a clean kitchen towel, the dough will be moist, cozy and happy to perform for you.
 Delicious
 You are enough.
 How to feed your sourdough starter right!
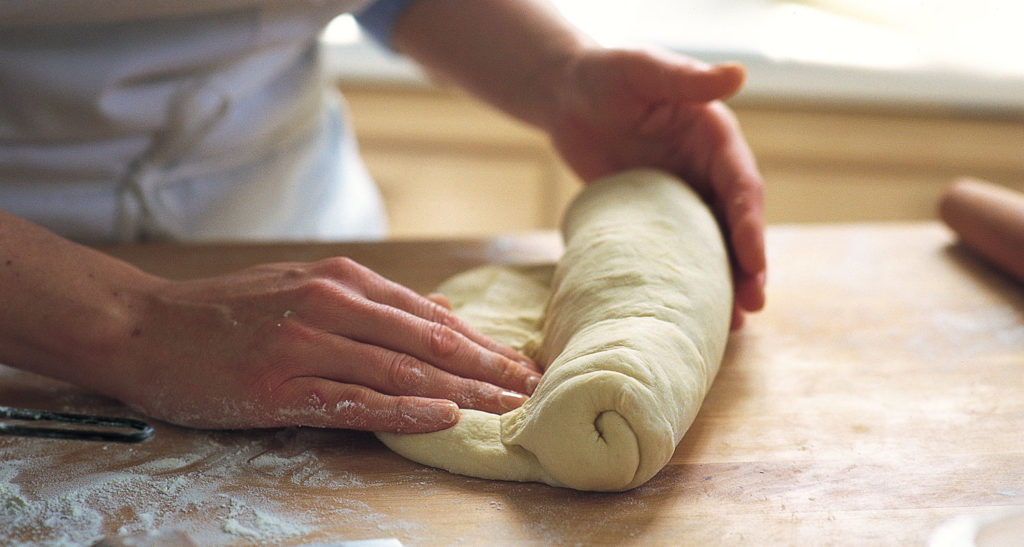 Disappointment
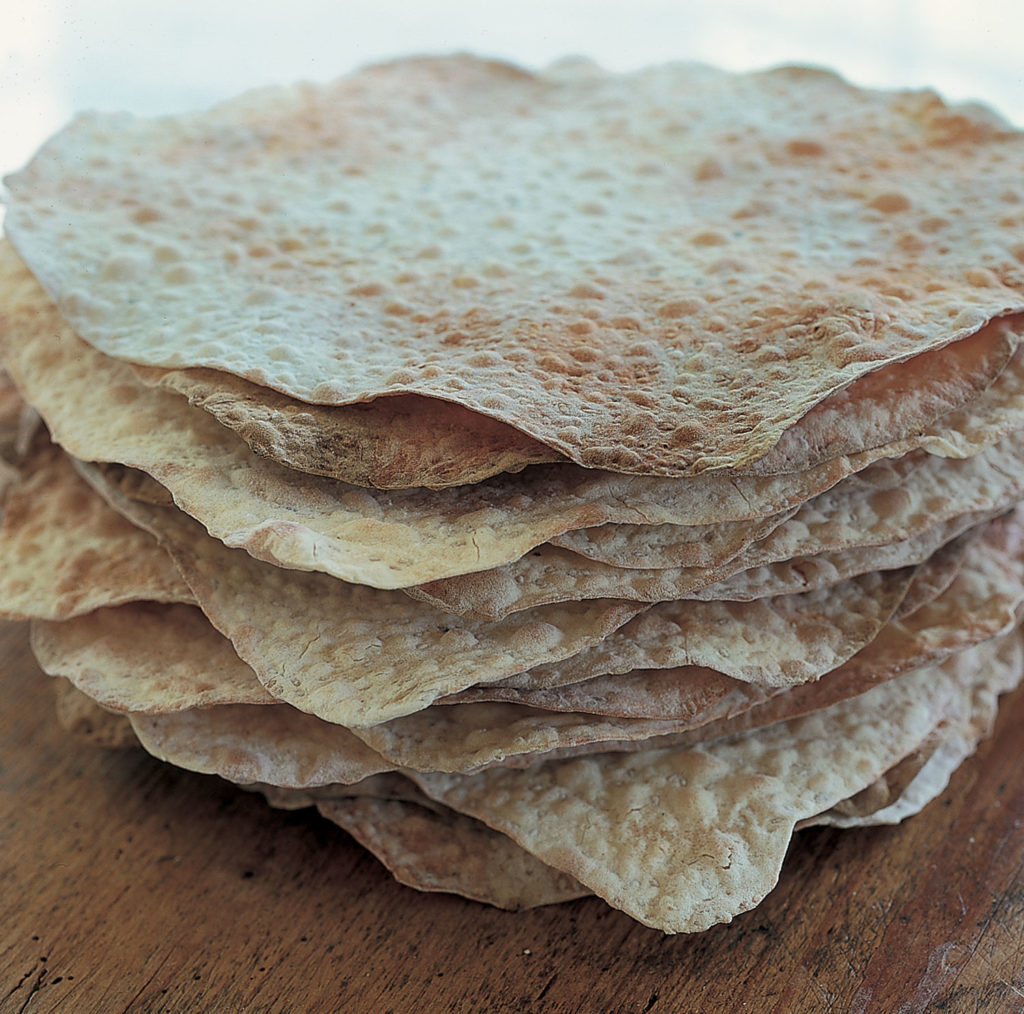 How Religious are You?
 Some foods to always have prepared and ready.